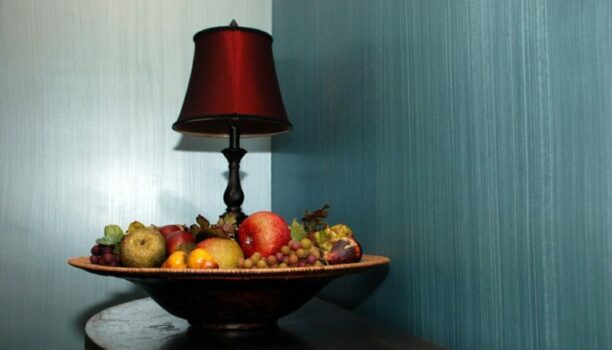
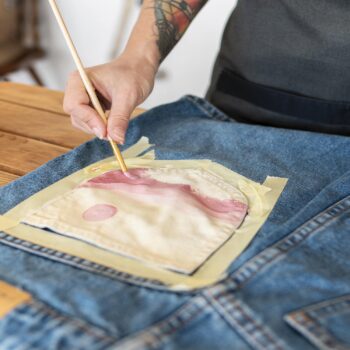
Bored of the same old paint job? Give your walls and surfaces a modern, decorative touch with faux painting and finishes.
While this idea may have crossed your mind, the execution entails complex techniques and masterful designing. In fact, faux finishes constitute certain tools and application methods intrinsic to the process, which gives a unique spin to your interiors.
We understand that you may not have a clear idea about all these different styles, so we went ahead and put together this faux painting and faux finishes 101 guides. And we’re sure that you’ll find all the inspiration you need from our spectacular gallery.
Without further ado, let’s begin.
Faux Painting and Faux Finish Options
-
Graining
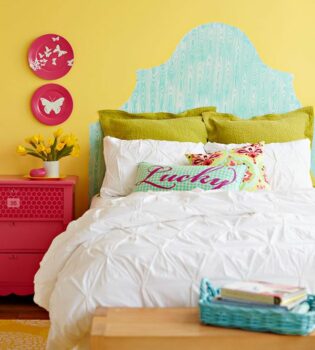
With the growing popularity of faux bois in the interior decor scene, graining has become a highly appealing form of faux finish. In spite of how regal it looks, it’s pretty easy to pull off.
Simply buy a graining tool (a specially designed implement to create wood-grain texture), and drag it downwards or across a painted or wet glazed wall. Keep a steady hand and make minor jerky movements randomly to give the surface a natural look and feel.
-
Concrete-ing
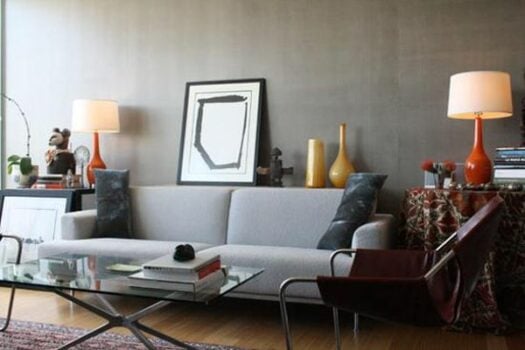
No prizes for guessing that it’s a made-up word, used primarily in context of faux painting. Basically, concrete-ing refers to a concrete faux finish. That said, if you want to create a muted, contemporary look, this is an ideal option.
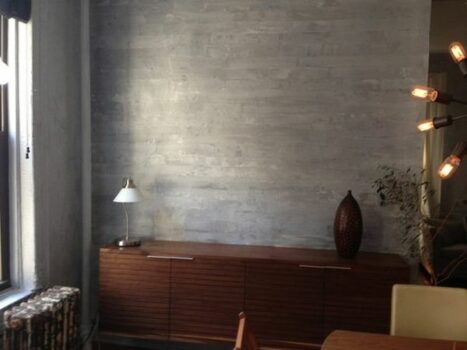
While concrete paint may bring up images of bleak, dull-looking walls, the final effect of this faux finish is nothing short of impressive. Basically, the paint job involves random yet artistic use of black, grey and white shades, followed by glazing. For the last step, you’ll be needing a plaster blade measuring 9 inches.
-
Strie Painting
Strie is another faux painting technique that has enthralled the designer and artist community. Typically, this finish is created by making soft brush strokes with any color of your choice.
Initially, the wall is painted in a different shade and then vertical streaks are made to give it an interesting contrast. The final result is a soft, cozy appearance, closely resembling fabrics. Apply a combination of paint and glaze with a regular roller making vertical strokes. After that, make even strokes with a long-bristled brush, starting from the top and gently dragging it down.
-
Denim Painting
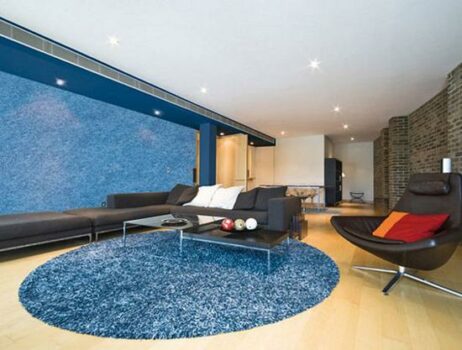
If you want your walls to stand out, give them a refreshing coat of your favorite indigo shade or color them in beautiful blues to mimic the look of denims. However, to create an authentic appearance and texture, the brush strokes should follow the cross-stitching pattern.
Meaning you have to paint vertical and horizontal lines, one after the other and build the entire look. Honestly, it’s stylish and funky, speaking volumes about your unique taste.
-
Sponging
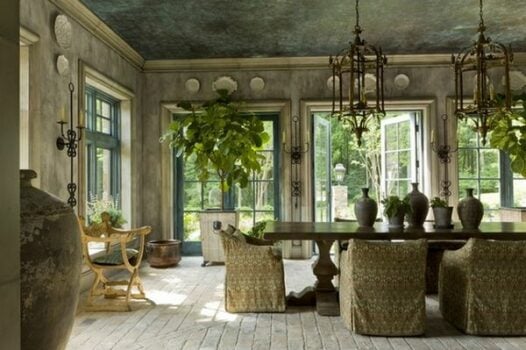
Sponge has been an integral tool in the faux painting style for years, and as such, its use hasn’t dwindled. In fact, it continues to remain a staple in this industry. To start with the process, gently dip a dry piece of sponge in the paint.
Then lightly press on the surface in a uniform manner. The aim is to create several layers using the same technique till you achieve the desired color density. Furthermore, you should try to build a seamless texture across the surface so the wall stands out as a whole. However, you can experiment with darker shades of the primary color to imbibe depth into your 2D wall.
-
Bricking
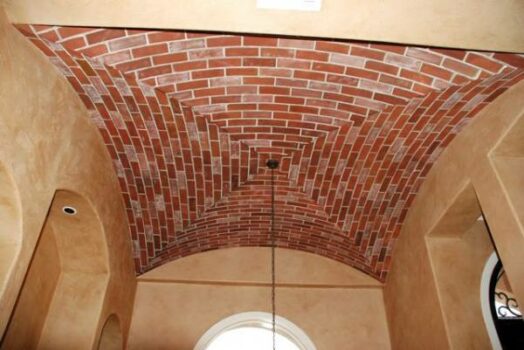
You may live in a modern house but that shouldn’t stop you from adding a bit of rustic charm. You don’t necessarily need a brick wall or roof to create that unfinished look when you can simply paint them.
Simply put, faux paint the bricks on a surface and no one will be any wiser. This modern technology can be used to create an unpolished, exposed brick look or a neat patio finish. Either way, it appears all too realistic and visually charming.
For starters, you have to cut a few sponges with the dimensions as the brick. Make sure to get the shape and size accurately. After that, apply some adhesive to a plywood shaft and stick the sponge piece on it. Keep them evenly spaced to get the right finish.
With a roller, apply brick-colored paint on the sponge surfaces and then stamp and press on the roof or wall. Keep repeating till you can see the ‘bricks’.
-
Rag-rolling
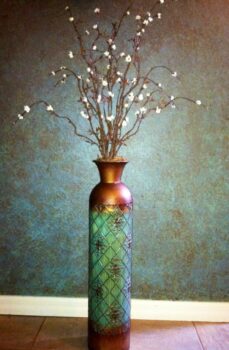
Crumple a piece of cloth, and then roll it up. After that, use the rolled-up rag to make subtle vertical patterns on the glazed or painted wall. If you dig the unfinished, distressed look, you’ll completely adore this finish.
You may also apply paint or glaze to the piece of cloth to create a more dramatic effect. For instance, as shown in the picture, the shade of shale blue was applied with a rag. However, the base color was Baltic green. As a final touch, an antique glaze is sponged on the entire wall.
-
Ragging
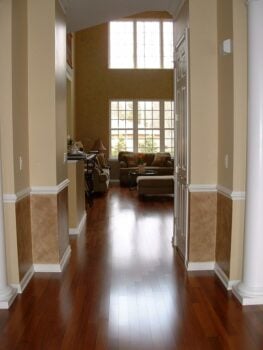
Now, this is different from rag-rolling, in the sense that no rolling action is applied while painting a wall. For this, you need to crumple a wet cloth or in this case, even a paper bag or plastic should work.
After that, press it onto the wet paint or glaze on your wall. The idea is to create a randomly designed streaked faux finish. If you have a penchant for avant-garde decor, this is one of the best options for your interiors. That said, for desirable results make sure to wash or change the paint-soaked cloth from time to time.
-
Marbleizing

When it comes to home interiors, nothing can beat the appeal and charm of marble. But not all of us have the budget for such expensive installations. Nevertheless, you can opt for the shorter and more affordable route – marbleizing.
This faux version may not have the feel of real marble but it perfectly simulates the look. Honestly, that’s better than nothing and the result is astoundingly gorgeous. The key to a flawless marbleizing effect is neat strokes with a steady hand.
Ideally, you should get a lot of practice before painting on the final surface. You may also lookup tutorial videos online to gain deeper insights into different styles and techniques.
-
Stippling
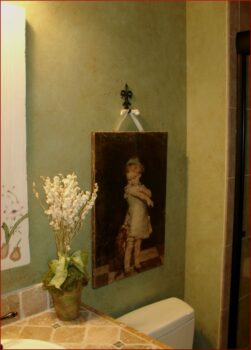
The main implement needed for this faux finish is a stippling brush. Now, these brushes are specially designed for creating this effect and typically feature short, stiff bristles. So, get one of these and press its ends onto a wet painted or glazed surface.
The result is a subtle and soft finish, enhancing the glamor quotient of your walls. Besides, this fine-textured effect is truly artistic and looks every bit vintage and charming. As a rule of thumb, make sure to apply an even up-down motion, without dragging the stippling brush.
-
Leathering
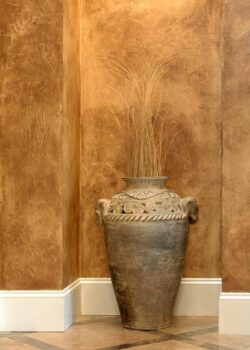
The technique used here is much like rag-rolling, only instead of cloth, you create the finish with chamois. However, this form of wall art is not for everyone as it’s an exclusive look that simulates the appearance of leather.
Firstly, you must start by painting the base color. After that, roll a few chamois pieces and tie them together. Then use these tied-up pieces to apply glaze on the wet wall. For the best results, follow a gentle rolling action. The soft-textured chamois essentially fashions a mottled, uneven appearance, similar to distressed leather.
-
Stenciling
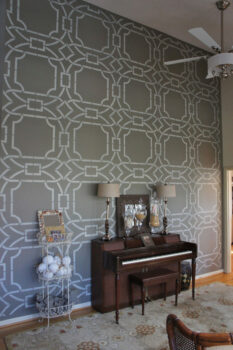
This one is pretty basic and does not require a lot of technique or finesse. Simply stick the stencil on the wall with painter’s tape. Now, apply paint in even, vertical strokes, using a stencil brush.
Carefully remove the stencil and repeat the same action on the subsequent spot. We’d suggest keeping a level handy to ensure straight lines.
-
Distressing
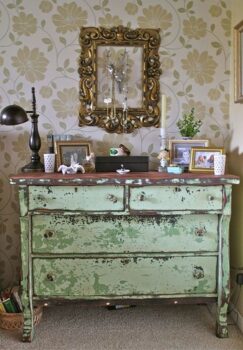
Distressing or ‘shabby chic’ is one of the most popular faux finishes on walls, furniture, cabinets, etc. While creating this look think of the areas that are most likely to experience wear and tear. Usually, it’s the sides and edges that receive more traffic. Use contrasting colors to achieve the imperfect appearance and then finish off by sanding the surface.
-
Plastering
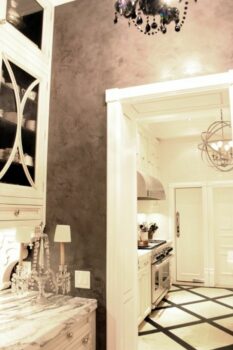
The plastering method is simple enough. All you gotta do is spread the plaster using a putty knife on the surface, creating a thick layer. Follow it up with a coat of paint or glaze to enhance the texture.
-
Dragging
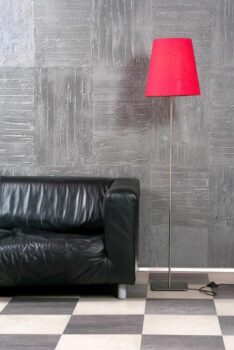
Dragging is another faux finish that requires a specific brush. In this case, the long-bristled dragging brush is pulled down or moved across, starting from a low angle. Apply smooth and steady strokes to gradually develop the coarse-lined look and feel.
Final Words
That’s all, folks!
With this guide, we hope you could find the most suitable finish for your walls and surfaces. However, before deciding on any of these options, you must first assess the wall condition.
In some cases, treatment and other corrective applications are necessary to create the desired look. Also, if you’re painting only one or two walls, consider the existing decor and choose something that’ll blend seamlessly.
That said, the cost and time taken to complete the job vary with different finishes. So, you may want to consult with an artist or interior designer before taking the final leap.
Till next time!

