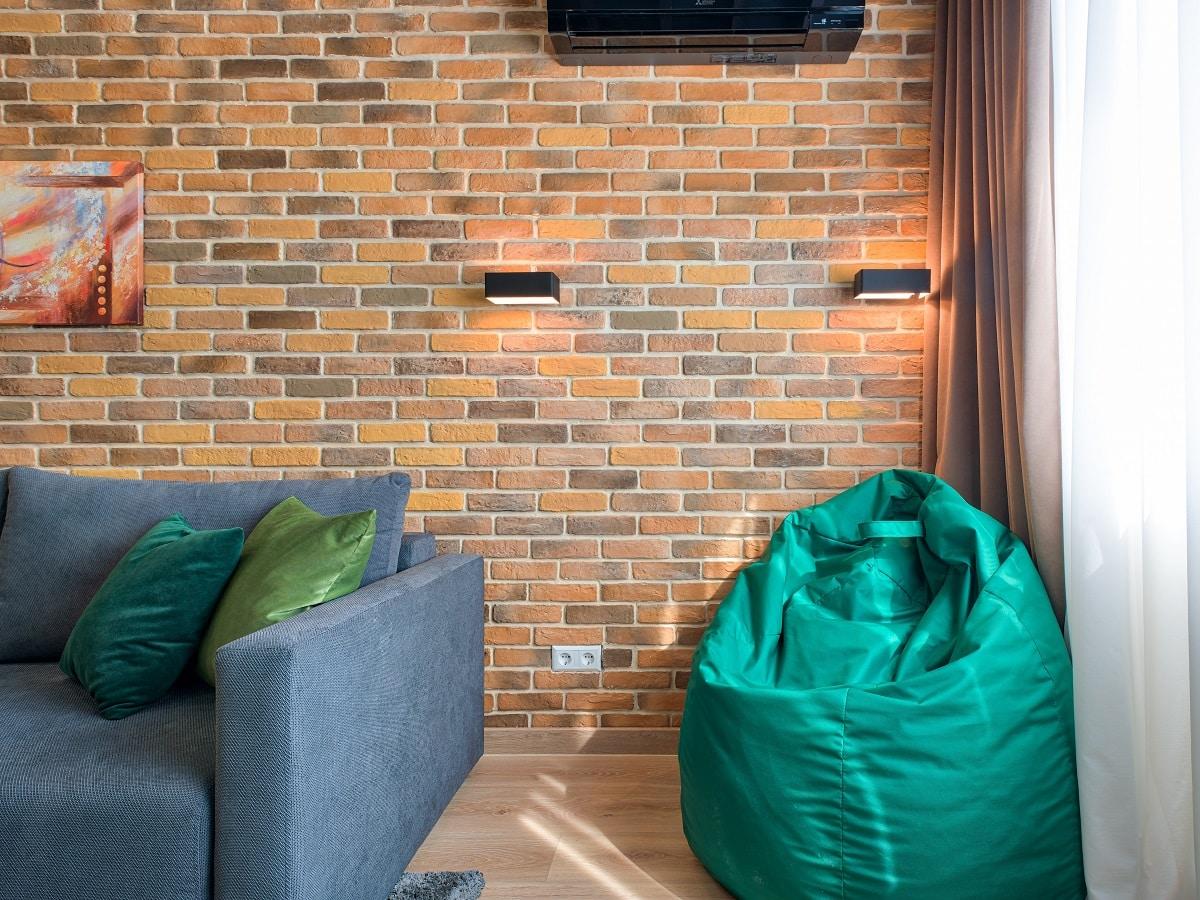
Nothing sounds more relaxing than sinking into a bean bag after a long day’s work. To maintain its structure and comfort, using the best bean bag refill is imperative.
They can be highly comfortable, and you can easily make a DIY bean bag at home if you have a suitable filler. However, the type of filler and the size will depend on how big a bean bag you want. You can get your kid to help as well, and together make a kid’s bean bag chair.
If your curiosity wants to head other ways, then try reading our previous article on types of screen printing. This will enhance your styling options on t-shirts and others.
In this guide, we will tell you about the process in detail so that you can begin crafting and designing immediately. So, let’s get started!
How To Make A Bean Bag

In this section, we will discuss how to create a bean bag for tossing around and playing with –
1. Find The Materials
First of all, you will need a suitable piece of fabric for the bean bag. The size of the fabric will depend on the size of the bean bag that you want. We recommend using a cotton polyester blend fabric you can find online or at a local fabric store.
Moving on, some people purchase two different fabrics for the front and back of a bean bag. Others purchase the same fabric for entire bean bags. Besides the fabric, you will require:
- Ruler
- Pencil
- Sewing machine
- Scissors
- Sewing thread
- Bean bag fillers like corn, dried beans, and peas
Once you have all of these materials, you should be ready to begin the job.
2. Shape The Fabric
You will need to cut the fabric according to the shape of the bean bag. If you are making a bean bag toss, then a cloth of five inches x five inches will be perfect. You can even use a bigger piece of cloth for playing. Cut them in a square or circular shape with a rotary blade or scissors.
In case you are working with a rotary blade, then use a cutting board to provide a safe surface underneath.
3. Iron The Bean Bag Fabric
If the fabric is wrinkled, then it is best to iron it before use. To do so, you can place a towel on top of the fabric. Then place it on an ironing board. Plug the iron and then wait until it heats up. Then you can press on the towel and iron the surface. Be gentle and keep moving the iron so that the cloth does not burn.
Also, do not allow your kids near the iron as they may get hurt.
4. Lay The Fabrics
First, take one piece of fabric and place it with the designed side on top. Then take another piece of cloth and make it face down. The design side should be facing the other cloth. Make the edges match and ensure they are not of different sizes.
5. Sew The Fabric
Use some sewing pins to attach both surfaces to each other. Then sew around the edges with a ½-inch seam. Remember to hold both the cloth pieces firmly while you work and keep your finger away from the needle.
Also, every time you reach the corners, you can move the bean bag cover 90 degrees before beginning to stitch again. Then stitch diagonally before stitching the other side.
Just remember to leave a three-inch opening for a bean bag to put in the fillers.
6. Invert The Bean Bag Cover
Once you have finished stitching, just invert the bean bag cover. To do this, stick two fingers inside the hole you left and then pull the farthest end of the material. Then turn the bean bag so that the patterned side is facing outwards.
You should now have a nice-looking beanbag with a large pocket to fill with beans, rice, corn, or other materials.
The corn, dried beans, peas, or other eco-friendly bean bag filler needs to be poured into the pocket. If you find most of it falling outside, then use a funnel to fill it up.
Make sure that you do not pack it tightly, as doing so will make the bean bag rigid. Leave around ½ inch of material empty for small bean bags and 1/4th of the bag for larger ones.
7. Stitch The Ends
After the filling is in place, you will have to stitch the pockets together with a sewing needle. Again, keep a ½-inch inseam while stitching, and you will have a bean bag to flaunt.
How To Make A Bean Bag Chair

In this section, we will discuss the process of making bean bag chairs of various sizes.
1. Decide On The Bean Bag Chair Size
You will have to first design how big you want the chair to be. Some people prefer oversized bean bag chairs, while others prefer average-sized ones. If you are looking for a normal bean bag chair size, then 32 inches should be good enough.
Large bean bags are about 42 inches, while XXL bean bag chairs can be between 56 to 70 inches. You can also visit a nearby store to find out your preferred size. Try each one out and see which one will fit into your room perfectly. Then you can ask them for the exact measurements and use that to make one on your own.
2. Find The Perfect Fabric
Purchasing a cotton polyester fabric from a local store is a great idea because you might get it for cheap. Now you should know that the bean bags available in stores are generally made of an elastic fabric that cannot be found easily.
However, you will find polyester fabric in different patterns, including polka dots, solid colors, animal prints, and stripes.
3. Cut it According To Size
Once you have a size in mind, just add four inches to it, and you will be able to sew a DIY bean bag easily. For example, if you are making a bean bag of 42 inches, then you can cut a cloth of 46 inches. You will need two pieces of cloth for the outer shell, and they should be of the same size.
While purchasing, you can buy one cloth, and that should then be double the size of 46 inches. So, you can take a 46 x 92-inch fabric and use it for the chair. If you want a bigger one, then 64 x 128 inches of cloth will also work well. Bring it home and cut it in half before sewing the pieces.
4. Cut Circles On The Fabric
Next, you can place the fabric pieces on a flat surface with the patterned section facing down. Then cut out two circles from the square pieces of fabric and make sure they are of the same size as the desired bean bag.
Also, both circles should be of the same diameter. If you are not confident about the shape, take something round like the lid of a drum, and then use it to draw the circle. Use a pair of scissors to cut out the fabric.
5. Sew The Circles Together
Now place one fabric facing up and another on top of it facing down. The circles should be of the same size and match each other. Then bring out your sewing machine and place the edge of both of the circles under the needle.
You have to make a half-inch inseam border and stitch the fabrics together. A hole has to be left so that you can stuff the bean bag chair. Then you can straight stitch in the opposite direction, leaving a 3/4th-inch inseam.
Such sewing projects are easy, and you can even zigzag stitch for raw edges. If you have made stuffed animals before, then this will feel like an easy sewing project.
Once both fabrics are stitched, you can keep the stitching machine away and cut off the excess fabric with a scissor.
6. Fill With Beans
The bean bag is now ready to be filled, but first, you will have to put your hand inside the hole. Reach to the bottom of the seam and then pull it through the hole to flip the fabric. The design side should now be facing outside.
Then you can fill the bean bag chair with whatever you have bought for this purpose. You can use real beans, polyester pellets, or other materials that you deem fit.
Once the bean bag chair is filled, you can sew the edge by hand. Use embroidery floss and a sharp needle for this job.
Types Of Bean Bag Chairs

1. Giant Bean Bag Chair
You can easily make an xxxl-sized bean bag chair to jump into and enjoy the plush comfort provided by it. They are giant, and they can take significant space in your room. But if you have the space to spare and the whole thing can fit in easily, then you will love this design.
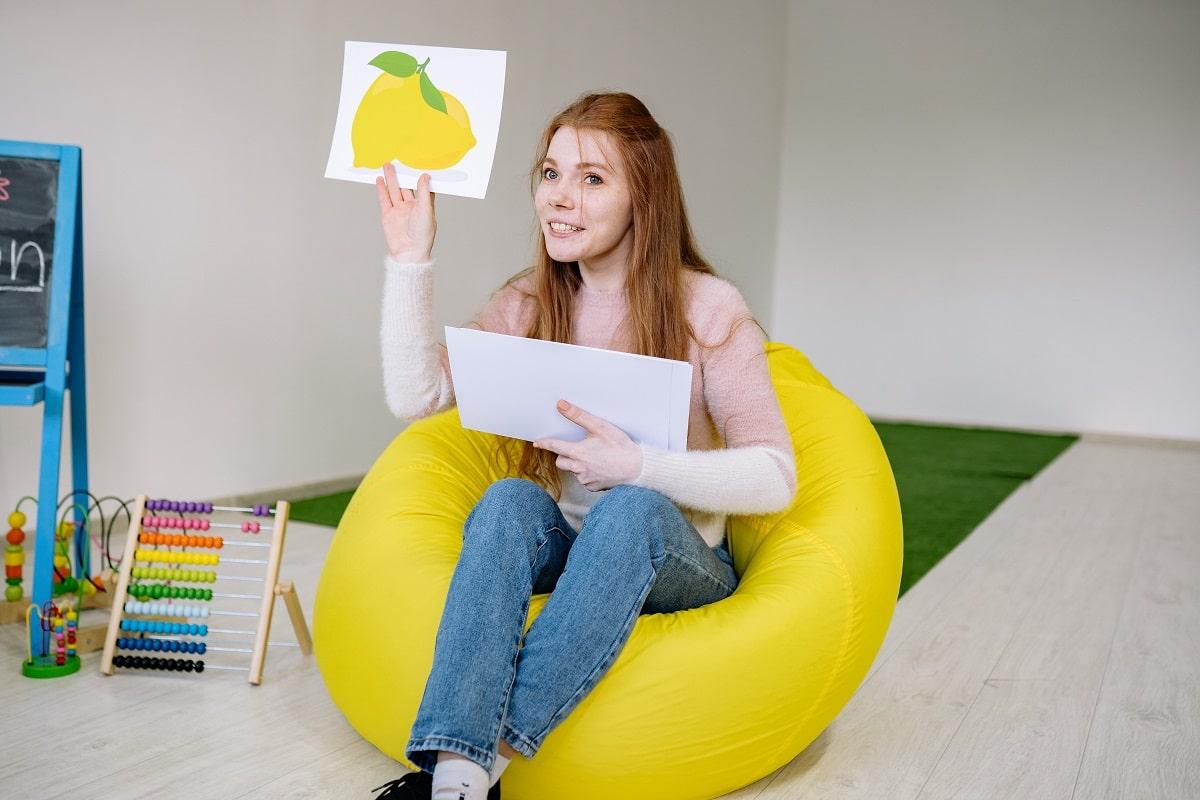
2. Kids Bean Bag Chair
If you are making a nursery for your little one, then use colorful fabrics for the job. As the size will be smaller, you can sew the cloth within 30 minutes, and you’ll have a complete bag within an hour.
Just make it interesting, and your kids are going to love the item. These bean bags can be made in many different shapes, depending on your kid’s preference. You can create a mini chair-like design and place it in the living room where your kid can sit.
3. DIY Bean Bag iPad Stand
Making an iPad stand can be a difficult job, and you may have been searching for support everywhere you go. So, why not create a small chair-like pillow for the iPad to make it stand? You can make it in a triangle shape with a slightly extending edge.
Then keep the iPad at a 45-degree angle so that you can watch your favorite shows without having to look for another support for the tablet. Also, the bean bag will be lightweight and can easily be carried in your handbag with the iPad.
4. DIY Bean Bag With A Handle
If you are opting for a bit larger bean bag, then you can make a handle on one side. Use rectangular pieces of the same fabric and stitch them together. Then sew both ends to the top side of the beanbag, and you are all set. This can be used to move the bean bag to different rooms or houses as required.
5. Football Bean Bag
Does your man enjoy watching and playing games with his friends? Surprise him with a football bean bag that will fit right into this man cave! Just ensure you purchase fabrics of the right color, and you should be set to make it.
Also, add detailing to the fabric by stitching white cloth for the patterns of the ball. This also works out for kids’ rooms if they are enthusiastic about sports.
6. Rollie Pollie Bean Bag
Rollie pollie bean bags are perfect for family spaces as anybody can sit on them. These are made with bright patterned fabrics and usually look like a drum. You can place these in your kid’s rooms or in the living room as extra seating.
Also, these bean bags can be made tall depending on the number of fillers that you put in. You can search for fillers online as well if you do not want to use natural materials.
7. Pillowcase Poufs
What are your thoughts on beautiful homemade floor cushions for the DIY enthusiast in you? You can now make bean bags in the shape of poufs and pillows that can be placed on the ground. These are round in shape, and you can embroider different patterns on top of it. Add a zipper to the cover while making it so that you can put in fillers easily.
Also, the cover can be taken off when needed and washed to keep it clean.
8. Pyramid
If you are looking to create something funky, then the pyramid bean bags will be a great idea. While the normal bean bags have a round shape, this one is in the shape of a pyramid, and it works perfectly for sitting. The unique pyramid shape can also provide you with a sufficient backrest and can prove to be the perfect floor cushion.
9. Toddler Bean Bag Chair
We could not help but swoon over this super cute design for toddlers. Now, toddlers need back and side support while sitting. The pillow has a backrest and two extended arms on both sides that allow all-around support.
Your little guy can sit in between the two side arms and play or read picture books. The pillow can be made with pieces of memory foam to provide ultimate support for the kid. Make it match the room interiors and provide your toddler with his own reading corner.
10. Denim Poufs
If you have old pieces of denim, then there is a way to upcycle them and create a new bean bag. You can use random pieces of denim and stitch them together. There are great tutorial videos online that can help you with this process.
Once done, you can fill it up with soft filler materials, and it should work out great for all kinds of rooms. Plus, when you are stitching fabrics together, you will be able to create a unique design.
11. Doll Bean Bag Chairs
Do you have a little one in the house who loves to play with dolls? Give them added accessories by making tiny floor cushions for the dolls. These cushions can be made with very little filling as they are going to be tiny. You can measure the size of the doll and make the seats accordingly. Also, you can use spare pieces of cloth and handkerchiefs to make these cushions.
12. Bean Bags For Babies
Why should babies miss out on all the fun of laying on a beanbag? You can make pillows for babies on which they can lie down and play. In case you are worried about them falling off, you can add safety straps to the bean bags to hold the baby in place.
13. Bean Bags With Stuffed Animals
If your house is filled with stuffed animals and you have nowhere to put them, then this unique idea may be just what is needed. You can now make a bean bag with a large zipper. Then you can stuff all the stuffed animals inside and zip them. It can be used by kids to sit on, and they can take out toys when needed from the bag.
14. No Sew Bean Bag
A lot of us are bad at sewing and may have skipped all the art and crafts classes as a kid! To counter this problem, we have a bean bag idea where no sewing is required. You can just knot the edges and seal them perfectly from all sides.
Then fill it up with some memory foam, stuffed animals, or corn and tie the ends as well. You should then have a perfectly suited beanbag for your kid’s room.
15. Sleeping Bean Bags
Does your toddler fall asleep while playing? Then you can make a sleeping bag for them. These are large bags that your kid should be able to fit.
Also, it is best to use muslin or other soft materials for the cover. You can use tattered memory foam bits from old pillows for the filling. Make sure it can provide enough support so that the kid can sleep peacefully.
Tips To Remember
1. Adding A Zipper
If you know that the kids will soil the cover often or you are worried about stains, then sew a zipper onto the cover. This way, you can remove the cover when needed and wash it. Then you can put the filler in and zip it back.
2. Change Organic Materials
If you have used organic materials for the filling, then that needs to be changed often. Otherwise, the content may decay, and you do not want that.
Can a large shirt be used to make a beanbag?
Yes, you can cut same-sized squares or circles from it and make a beanbag. However, remember that the bean bag will be small, and you cannot make bean bag chairs out of it.
What should be the ideal height of a beanbag?
The height of a bean bag will depend on the filling that you put inside. In case you are putting in a lot of filling, then the bag will be taller. And if you do not put in too many beans, then it will be shorter.
What can be used to fill the beanbag?
If you are wondering what kind of beans are used in a bean bag, let us help you. You can fill the bean bags with dried black beans, beads, chickpeas, peas, and other toy stuffing. Some people also use dried lavender along with the beans to make it smell good.

How To Make A Bean Bag Final Words
If you are still confused about this process, then you can check out some tutorial videos on YouTube.
We recommend making a bean bag toss or a kids’ bean bag chair and giving it to a loved one! It can be a great birthday or Christmas present idea, and the recipient will love the effort you have put in.
About the size, just make sure the person is able to sit comfortably on the chair without sinking in too much. And you might have to change the beans at intervals if it is used a lot. For this, just open the stitch take out the old beans, refill it again, and stitch the hole back.
You should now be able to create your own bean bags. All the best!


