There are many ways to soundproof a room to optimize it for music and recording, like decoupling, using thick sound-absorbing materials, and sealing gaps. With these methods, you can sufficiently enjoy a room with a reduced transfer of sound waves.
Preventing sound waves from exiting and entering a room through the ceiling, window, or walls can allow you to create an optimal space for listening and recording by isolating sound.
While this is most conveniently done during the construction of a room, you can minimize the vibration between existing rooms by employing techniques for absorption and stellar acoustics.
Keep reading to learn how you can easily and effectively soundproof a room!
How to Soundproof a Room for Music
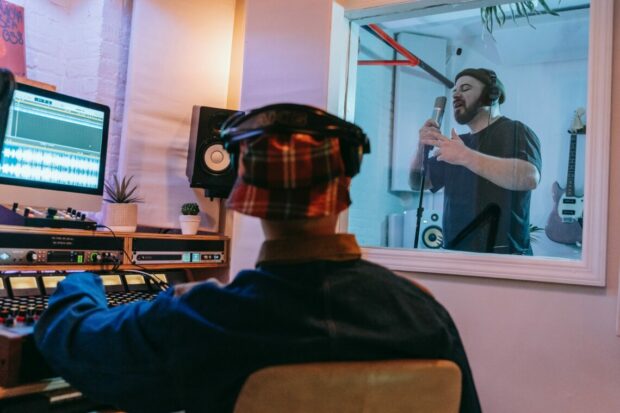
Before proceeding, we want to clarify that soundproofing is NOT the same as acoustic treatment. Ideally, you have to do both to make the most out of your recordings.
Here are some effective soundproofing methods:
1. Use Sound-Absorbing Material
When a sound wave hits hard surfaces, these sound vibrations can be a distraction to your listening or recording. To minimize this, you can add mass to walls, ceilings, and floors.
The dense material of insulation can greatly help with sound absorption. Acoustic panels are some of the most popular materials for this because they are effective and don’t cost much.
Acoustic foam can also be quite decorative, so you can play with where and how they sit in a room, but bass traps are more effective, especially when placed in corners.
If you don’t want to purchase acoustic foam panels, you can make do with some thick blankets, though they will probably not be as effective.
Isolation pads can also help reduce bumpy noises from speakers and monitors.
2. Decoupling
Decoupling is one of the best ways to soundproof a room because it creates a sound isolation barrier. When you keep sound inside that air gap, you can greatly reduce noise transfers.
It is best to have double walls professionally made during construction so you don’t have to treat a room again, but you can also add a second layer to an existing wall as an alternative.
Make sure you leave a few inches between walls where sound waves can be trapped. Reduce the number of direct contact points to keep unnecessary vibrations at a minimum.
3. Filling Air Gaps to Block Sound Waves
Decoupling is a great option if you can stand to lose some space. If not, however, you can seal the air gaps of hollow structures with soundproofing materials to help lower noise levels.
A helpful material for this is mass-loaded vinyl, which is a type of material that works great against outside noises. Walls, ceilings, and floors can be outfitted with them.
If the door to the room you are trying to soundproof isn’t solid, noise can easily pass through it. Try looking into filling it up with fiberglass, for example, to reduce noise transfers.
For more information, read our piece on soundproof insulation.
4. Damping
Damping converts sound energy to kinetic energy (i.e., heat), effectively helping to eliminate unwanted noise from a space. For this, acoustic caulk is preferred over normal caulk.
Like decoupling, this method is best done during construction. Still, you can create a makeshift barrier if you place a layer of caulk between rigid panels such as MDF or drywalls.
You can also use the caulk as a sealant for small air gaps in a room, like the space cut out for electrical outlets, switches, etc.
Just be sure to pick the correct one, and you’re good to go!
5. Seal Gaps Using Foam Gaskets
You can block incoming noise from entering your space by closing off open spaces in your room. Keeping external sounds out and internal sounds in can enhance listening and recording.
There are many building materials and practices unconducive to this. For instance, did you know that plenty of unwanted noise comes through the gaps in the wooden frame of doors?
If that particular example applies to you, you can use a door sweep to help with such noise transfers. A foam gasket is easily accessible and installed; it can work for many people!
6. Decorate Your Practice Room Accordingly
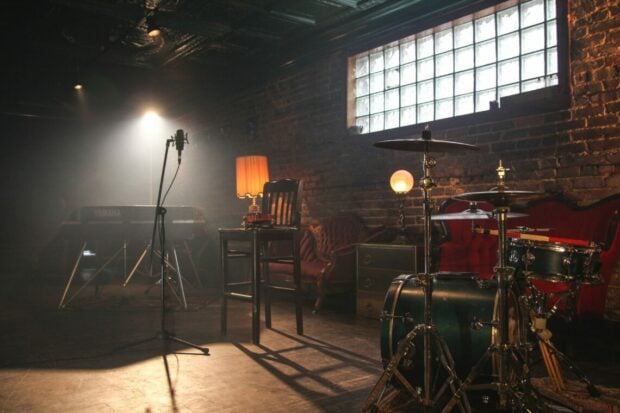
Your practice space can be just as crucial as your recording space, so soundproofing it may be a worthwhile task. There are also those who want it to look more casual than professional.
For that, you can look into soundproof curtains as they can be more aesthetically pleasing and natural in a room. A thick rug should also be a good option to absorb the sound of footsteps.
These days, soundproofing panels come in different color options and shapes. It is quite easy to make them look decorative while also serving a functional purpose.
Why You Should Soundproof Your Music Room
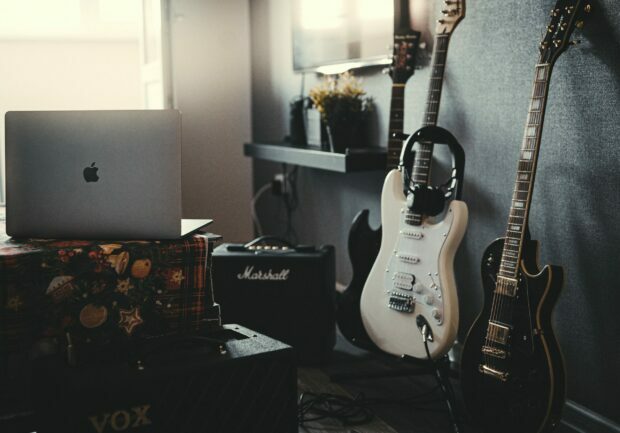
Recording music and audio require a certain precision that untreated, non-soundproof rooms can’t provide.
Here are some advantages you can enjoy by soundproofing your space:
1. To Produce Proper Studio Sound Quality
Studio recordings have better sound quality than casually recorded tracks because of the absence of background noise. Professional studio recordings are clear, crisp, and controlled.
If you’re serious about music, voice acting, or podcasting, soundproofing a room well can help make your output as professional as possible. Couple it with good gear for the best results!
2. To Reduce Echo
In a room, surfaces that are hard, like walls and reflective surfaces, encourage sounds to bounce around the area. This means more sound is affecting the way you hear and record.
If you use materials that absorb sound coming from outside and in, you can control the reverberation so that there are fewer distracting and disruptive noises in your environment.
3. To Dampen Exterior Noise
External noise seeping into your recordings takes away from their clarity and can make them difficult to enjoy. If you are in an area with a lot of traffic noise, it can be particularly difficult.
Preventing any incoming sound from polluting your outputs will result in a clearer track and allow you to work faster because you can spot mistakes more easily.
4. To Reduce Inside Noises
There is also an abundance of unwanted sounds and noise coming from inside a room. Air conditioning, computer fans, and the click-clack of footsteps are only a few examples of these.
With the use of soundproofing techniques, specifically ones for absorbing sounds, you can minimize these noises for better recording quality and experience!
Some Considerations Before Soundproofing Your Room
A DIY project probably won’t have soundproofing that is as legitimate as professional recording studios, so manage your expectations accordingly.
Read on for some key things to keep in mind before starting:
1. Stay Within Your Means
Soundproofing a room can be expensive, time-consuming, and require the help of a professional, depending on the method you want to use and the result you are aiming for.
In many cases, those may be unnecessary. For example, you may not need to outfit a whole wall. Absorbing sound in its weak spots may be enough for a generally quiet room.
Check out our guide on how to soundproof an existing wall for more information.
2. Have the Proper Mindset
Set fair expectations for your soundproofing project. Do not expect professional soundproofing results if you are DIY-ing it and using cheap and poorly performing materials.
Again, do not mistake acoustic treatment for soundproofing. The former gets rid of excessive ambience from a room so you can sound better, while the latter blocks sound both ways.
3. No Need to Prevent Sound From Entering Your Recording Room

There may be a lot of unnecessary noise from outside that a professional recording studio would prefer to intercept, but we find that some situations do not need the same treatment.
For example, live in a relatively quiet area with considerate housemates. Traffic and construction noises, as well as indoor impact noises, will probably not be a big issue for you.
4. Soundproof a Room Based on Your Ideal Sound
Different people have different needs. If, for instance, you have a drum set you constantly use, you will want a solution that caters to absorbing low frequencies to best keep the noise inside.
We have created a complete guide on how to soundproof a room that should be helpful in customizing your soundproofing according to your needs.
5. Choose the Right Soundproofing Materials
You might want to look at a material’s Noise Reduction Coefficient rating to produce the results you want.
The rating tells you how effective a material is in absorbing sounds. The closer the value to 1, the better it is.
Frequently Asked Questions
Have more questions about soundproofing your recording space? Check them out below:
How Can I Soundproof My Room for Music Cheaply?
Reducing sound transmission to make a room quiet for cheap is possible with some DIY methods. The most convenient one that comes to mind is using acoustic panels.
They are cheap, decorative, and easy to install because most come with an adhesive at the back. Simply press these panels against a wall, and you’re good to go!
How Much Does It Cost to Soundproof a Room for Music?
If you want the same acoustics as a recording studio, you will need to shell out a lot of money and hire professionals. This can easily cost you around $1000 or more.
Otherwise, working with existing structures is typically on the affordable side, ranging from $20-$500. Plus, they produce results that are more than serviceable.
Can You Soundproof an Apartment for Music?
Minimizing the sound transmission of a single room can be a huge project in itself and will probably be sufficient to fulfill most recording needs.
Outfitting an entire apartment to be soundproof is perhaps unnecessary. However, if you really want to, you can apply the techniques we discussed above to your whole place.
Conclusion
There are many ways to soundproof a room so that recording tracks and listening to music will be easier and, at the same time, yield a better output without unnecessary sounds.
But note that the best soundproofing results will probably come from the hands of a professional who is experienced and knowledgeable about how sounds behave in a space.
Still, there are methods you can DIY, even on a limited budget!


