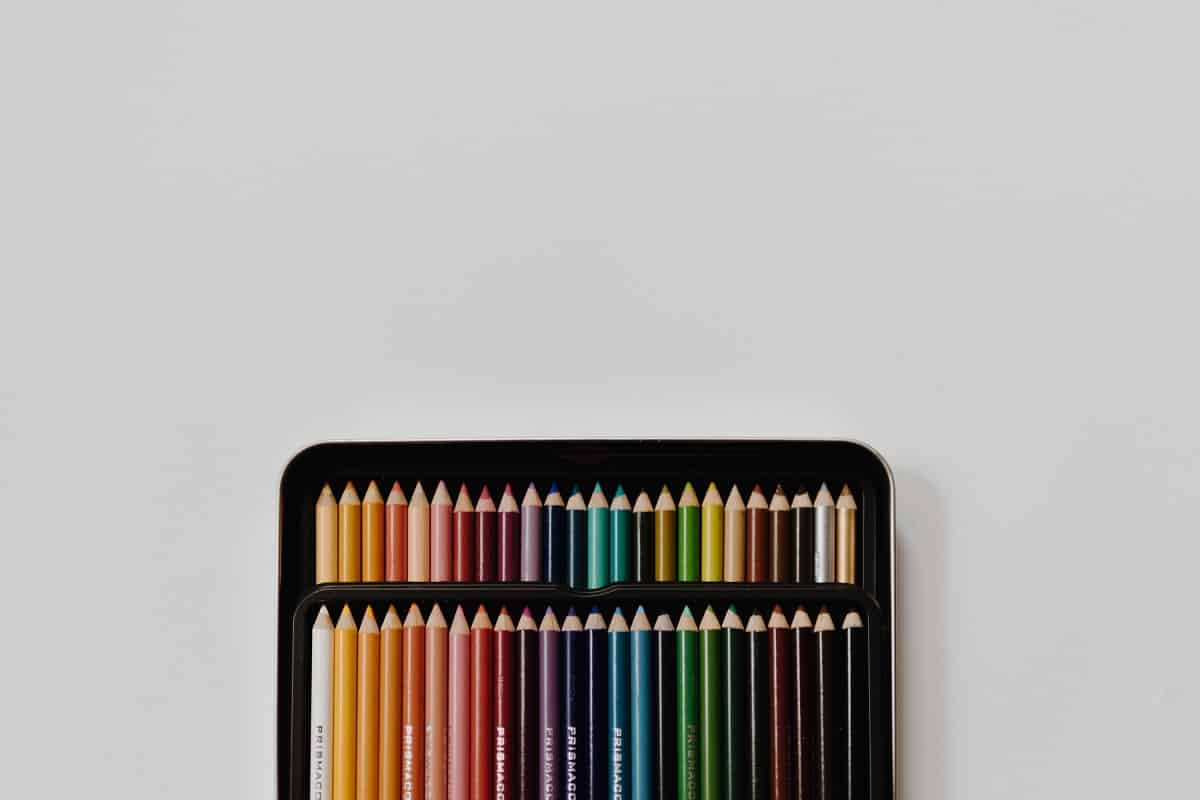
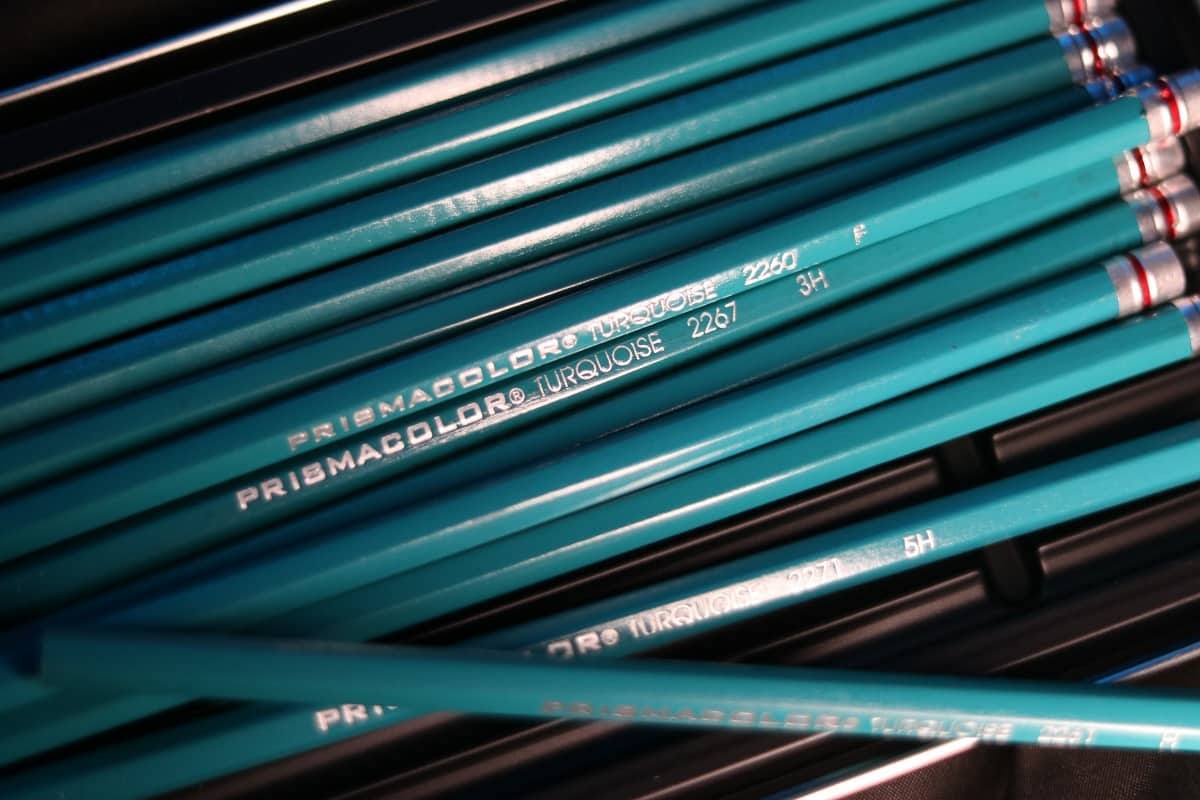
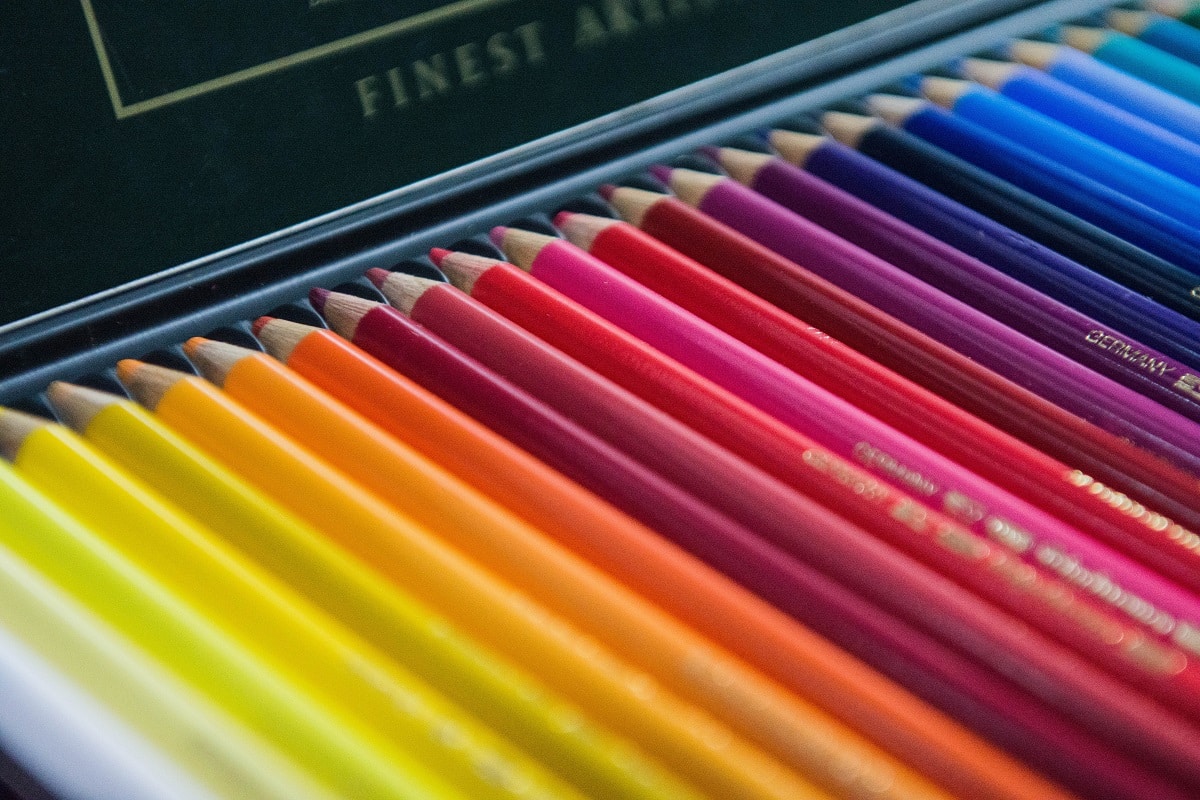
When it comes to the top notch colored pencils for sketching, the one brand that comes to almost everyone’s minds is Prismacolor.
The brand is well known for its colored pencil products, as well as other art supplies, such as pastels, markers, charcoals, and watercolors. All of these products are favored by both professional artists and amateurs alike, thanks to their superior quality.
If you own a set of Prismacolor colored pencils, it’s important to know how to make the best use of them to create bright and vibrant sketches, from drawing the galaxy with colored pencils to sketching your favorite Game of Thrones character, Prismacolors colored pencils can make wonders. You can learn how to use the prismacolor pencils, including application and blending of colored pencils, with ease by following this article and always remember, practice makes perfect.
And that’s why we have included some amazing tips and tricks for these pencils that you can follow. So, without wasting any more time, let’s get going with how to use prismacolor colored pencils!
How To Use Prismacolor Colored Pencils

1. The Basics
Before you get to creating wonderful pieces of art, it is good to know some of the basics of using colored pencils. If you are a seasoned artist, you will know about them. But you can still go through this section to refresh your memory!
First off, keep all of the colored pencils organized in order. You can sort the pencils either based on their type or color so that you don’t have any difficulties or confusion while sketching. This will also ensure that you do not misplace any of the pencils.
When sketching, always use the pencils gently, without applying a lot of pressure. Applying too much pressure with the colored pencil will not only break the pencil tip but also damage the paper. Instead, if you need a deeper color, you can try blending or learning techniques, which I have discussed later on.
Initially, you can create a rough contour or outline of the image you want to paint. That will help you define the boundaries of different color sketches. However, the outlines shouldn’t be very deep or too many in number as that can mess up the painting.
2. Color Application
For applying color to your painting, you can follow different techniques, as I have discussed below:
A. Flat Point Coloring
This is the most common technique for sketching and coloring where you hold the colored pencil like a pen and apply gentle strokes over the area that needs to be colored. The direction of the pencil strokes should be maintained throughout unless you move to a different area.
B. Core Side Coloring
In this method, you shouldn’t hold the pencil like a pen. Instead, tilt the pencil lot more, and the tip of your index finger should align with the pencil tip. The pencil and the finger should then be rubbed on the surface to give a smoother color texture.
Using this method, you won’t have to worry about the tip breaking easily. And by varying the pressure, you can create different depth gradients.
C. Hatching And Cross-Hatching
Hatching is a technique to illustrate a shadow or darker section in your drawing. Using your colored pencil, create multiple, closely packed parallel lines in the same direction to create a hatched pattern. Similarly, in cross-hatching, crisscrossing parallel lines are used to create a checkerboard pattern. It can also be used to illustrate a shaded part in your sketch.
D. Swirling Color Application
When coloring circular or irregularly shaped objects, you can use the swirling pattern. In this technique, the pencils are moved in a swirling or circular motion. You can fill out the shape entirely for a dense, solid color, or simply leave some white spaces to give a roughened impression.
3. Blending
Blending is a method by which you can blend different colors. It helps create gradients on your drawing or deeper color textures and is typically done after you have colored the drawing. There are several techniques that you can use for blending with colored pencils, as described below.
A. Layering
Use a different colored pencil over the base color layer to create a completely different shade. The layered colors also help add depth and volume to the painting. Besides, you can also use the same color over the base layer to create a darker color.
B. Using Colorless Blender
A colorless blender is a clear colored pencil that is used for blending colors together. So, you can use the blender pencil over the base layers of different colors to fuse them together seamlessly. On that note, the colorless blender can also be used to achieve a glaze effect, which will make your sketch shinier.
C. Using A Brush
Prismacolor pencils have a waxy finish, due to which they can be easily blended using a bristle brush. Simply rub the colors with a suitable painting brush, and they will blend together.
Besides, it can be used to spread the color over a wider area. If you face any difficulty, you can use a bit of oil before brushing. This will make the colors more malleable, thereby making the process easier.
D. Using Mineral Spirits
You can use mineral spirits to give a washed-out effect to your painting. Since colored pencils have a waxy nature, the colors will easily dissolve with mineral spirits to create unique, blended designs.
E. Smudging
In this technique, you can use a piece of fabric or a cotton swab to rub the different colors, thereby creating a unique design. The waxy coloring produced by the Prismacolor pencils can be easily smudged by rubbing. You can also create different color gradients by varying the pressure and frequency of the rubbing.
4. Texturing
Texturing is another useful sketching tip that can make your drawing even more vivid and unique. You can create different textures for your sketch by using Prismacolor pencils and a little bit of ingenuity.
One method for texturing is putting a rough surface below the paper. That way, the texture will be transferred to your drawing when you color it with the pencils. And if the surface contains patterns, those will be transferred as well, so you can use this aspect to your advantage and develop unique designs.
If you have already finished coloring, then rub sandpaper on the colored surface to achieve the desired texture. Or you can simply use textured paper right from the beginning of the drawing to achieve the desired texture effects.
You can also use a stylus to create textured patterns over your drawing. The waxy colors can be easily etched; this helps with the different textures and patterns.
5. Erasing
If you have made mistakes, or want to change the drawing, then you may need to erase the color. However, unlike graphite pencils, erasing the colors of Prismacolor pencils is not as simple. With regular erasers, you will only smudge the colors instead of erasing them.
That is why you should use specialized vinyl erasers, which are specifically designed for erasing the color of these pencils. If you want, you can use kneaded or putty erasers as they are relatively effective in erasing these colors.
Another trick you can follow to erase the colors is using artist tapes. Gently press them over the colored surface to remove the waxy film and remove the color.
6. Using Fixatives
When you are finished with the coloring, try to preserve the painting using a fixative. You can use a final fixative to seal all the layers of the painting. Just remember that after using it, no changes can be made to the drawing, so use it only after everything is done.
However, if you want to change your drawing in the future, use a workable fixative. This helps make changes to the drawing without affecting the base layers.
7. Sharpening
The colored pencils by Prismacolor have a fragile core that is relatively wider than the core of graphite pencils. As a result, it can be a challenge to sharpen them with regular pencil sharpeners.
You also have to be very gentle when sharpening the colored pencils. Avoid putting too much pressure when sharpening, or else the core will break and jam the sharpener. In this regard, it would be best if you avoided regular sharpeners altogether. Instead, use the old-school method of sharpening pencils with a knife.
8. Some Additional Usage Tips
Apart from the above usage tips, you can consider some bonus tips when using colored pencils for sketching or drawing. These will help you create unique artwork with its own distinctive style.
You can use these colored pencils with watercolor pencils to create new color blends and shades. And if there’s no suitable solvent nearby, you can use some hand sanitizer as a solvent for colored pencils.
Furthermore, if you want black or similar darker colors, then it is better to blend different colored pencils to achieve a deeper shade. This ensures more flexibility and creativity when coloring the art piece.
Besides, you can experiment by using colored pencils on a variety of surfaces, such as canvas, wood, or metal. This will give you a wide range of textures to make innovative artworks.

How To Use Prismacolor Colored Pencils Frequently Asked Questions ?
Can Prismacolor pencils break easily?
If you apply too much pressure while sharpening or coloring, then the core of the Prismacolor pencil will break. After all, the core is made of a soft, waxy material which makes it pretty fragile. However, the whole pencil will not break due to the presence of the outer wooden layer.
Can Prismacolor pencils be used on fabrics?
No, the Prismacolor pencils are not suitable for use on fabrics. They are wax-based pencils, so if you wash and rinse the fabric, the colors will wash away. Instead, they may leave an unsightly stain, which will ruin the fabric.
What is the best paper for Prismacolor pencils?
The best paper on which you can use these pencils is one that has a relatively rough texture. So, a paper that has a medium is best suited for these colored pencils. But you can also use papers that have a small or large tooth, based on your requirements.
What to do if the color pencil is running out?
If your pencil is running out, then you can use a pencil extender to use the remaining portion for coloring. A pencil extender is a small device made of wood or metal that has a groove in which you can fix the pencil for further use.
Why is it so hard to erase the colors of a Prismacolor pencil?
The colored pencils are wax-based, which means that the coloring core is made of waxy material. And since wax cannot be removed with an eraser, the colors are also difficult to erase.

How To Use Prismacolor Colored Pencils Final Words
That’s all that we had to say about how to use Prismacolor colored pencils. Many people do not know about such tips and tricks, due to which they are unable to fully utilize their potential.
If you are a budding artist or professional painter, you can, therefore, use this guide to create innovative drawings and sketches with these pencils. And considering their quality, you won’t find it too difficult to accomplish either.
We hope that you will create some fabulous art with the help of our guide. On that note, it’s time to wrap it up.
See you later!


