When you move into a new home, it’s natural to look around the different rooms, basement, bathroom, etc.
Pretty soon, you have already started planning where to put the TV and how to decorate the kitchen, but most people forget to think about the plumbing system. It is an organism in itself, with water supply pipes and sewer lines forming an intricate maze.
Think about it – of all the issues in a new home, nothing will disrupt your life like poor plumbing. Not to mention the savings, as people save a combined $16.2 billion a year thanks to quality plumbing fixtures. The reason for telling you this is to highlight how costly a faulty or improper plumbing installation can be.
Luckily, we know how to help and have shortlisted the important points for installing plumbing from scratch.
Parts Of The Plumbing System
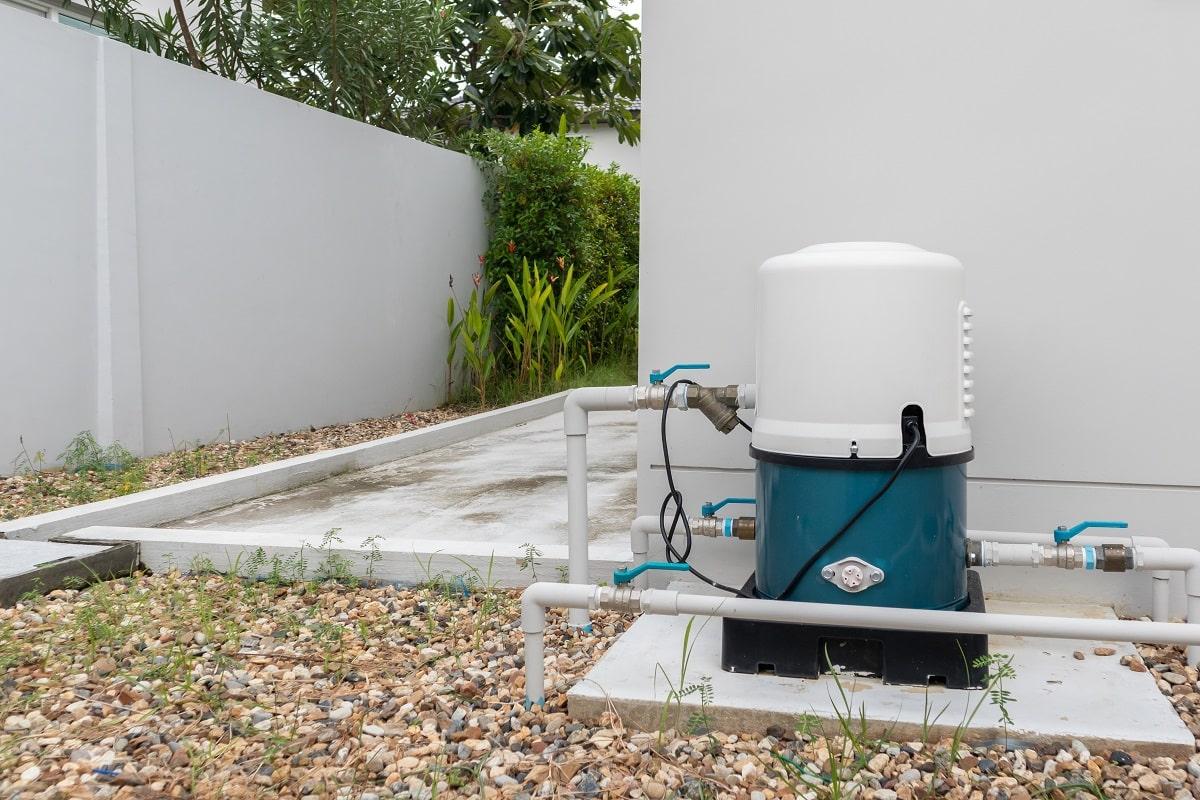
The quality, design, and materials of plumbing fixtures have changed a lot in recent times. Since plumbing comprises many moving parts, it’s easy to miss them if you don’t know what components to check and where to find them.
Instead of metal, nowadays most plumbers suggest a blend of alloy and plastics to keep the pipes in good condition. Regulations, like the National Uniform Plumbing Code, have also become more strict, while construction materials, such as copper supply lines, are more expensive.
We have provided an overview of such components to help you during installation.
1. Water Supply System
The main water pipe that supplies clean water to your home should have an ideal pressure of 50-60 PSI for the best results. You will also find vent pipes whereby uninterrupted airflow within the vents helps remove debris to keep the pipes clean.
In the same way, dirty water and waste are pulled down by gravity and flow outside through the drainage system. When all the discharge and supply lines are in good condition, your plumbing system should last many years.
2. Plumbing Fixtures
When you’re plumbing a house from scratch, we recommend installing the plumbing fixtures before completing the interior construction. This is because large fixtures, such as tubs, showers, and sinks, are easier to maneuver and install without doors or walls causing an obstruction.
But you might wonder, won’t the remaining construction damage the newly installed components? That’s a legitimate concern, so cover them with cardboard or plastic to reduce dust accumulation. Once the interior is ready, clean the fixtures again before using them.
3. Sewer System
After all the supply lines are in place, following the local plumbing codes, it’s time to get the septic tank and sewer system ready. These are one of the trickiest places for installing new construction plumbing, so consult with a professional plumber to determine the size of the septic tank.
It usually depends on the number of people in a family and how much water you use daily for cooking, washing, and other purposes. Also, the size of the tank changes as per the shape (round, square, rectangular), so you can install one having a capacity between 600 and 5,000 gallons.
But why is the size important? Wouldn’t any septic tank work? Choosing a larger or smaller tank than your daily needs will prevent the solid and liquid wastes from separating or the microorganisms from breaking them down.
Moreover, when the solid wastes break down, they produce toxic gasses, for which you will need an efficient ventilation system.
Things To Remember
The previous pointers should have cleared some of your doubts, and in this section, we have provided handy tips you need to remember to install plumbing.
1. Main Stack Installation Process
Those unaware of plumbing technicalities should know that the main stack is the pipe that runs from the basement to the roof. It measures 3-4 inches in diameter and helps the bottom portion of the pipe collect wastes discharged from the toilet.
The middle part is responsible for collecting wastes originating in other fixtures, while the top half of the pipe manages air pressure. During the planning phase, discuss with your plumber and find a suitable avenue to lay the main stack so that it is free from all obstructions.
2. Three-Dimensional Drawing And Permits
Speaking of planning, it’s crucial to have a 3D diagram of the building plan and plumbing system to lay the pipes easily. Without a diagram highlighting all the components, including pipe fittings, vent pipes, and drainage lines, you won’t receive the building permit to begin work.
This detailed diagram should also mention the pipe size, angles of connection, and diameter of the vents and traps. Once you hand over the plumbing diagram, the building inspector’s job is to deem the construction safe after studying the blueprint.
3. Drainage And Vent Pipes
The standard diameter of vent lines and drainage pipes ranges between 1 and 1.5 inches, but these pipes must be sloped slightly at every ¼-inch per foot. This guarantees proper drainage and ensures the pipes are marginally bent, but not angled sharply, for smooth flow of wastes.
Also, installing a trap underneath all plumbing fixtures is important to catch water and prevent poisonous gasses from affecting your health. And ask the licensed plumber to check that the air pressure in each fixture is appropriate.
Note that you will have to install wet vented fixtures within 5 feet of the main stack so that both water and air can pass through easily.
Installing New Plumbing
Now that you have a better idea about the plumbing system, we have explained in 6 easy steps how to install the various fixtures. But if you’re not a professional DIYer, contact a plumbing agency to do it for you.
1. Learn The Plumbing Codes
The plumbing codes are often different among states, and you should get your homeowners’ copy before starting with the construction. These codes ensure your safety and reduce the chances of plumbing issues due to faulty construction later on.
But we must mention that the National Uniform Plumbing Code is the same for the entire country, even though your local building department may have exceptions.
2. Prepare The Site
Start by marking the area and highlighting the spots where you will install the fixtures or appliances without interfering with the main drains, shut-off valves, etc. If you have already put up the walls, it would be best to remove the dry walls and plaster.
In some cases, you may find wiring inside the walls, so be sure to shut off the power. Test the wires and ensure they aren’t hot before removing the cables and measuring the area with tape to install plumbing.
3. Place The Vents And Lines
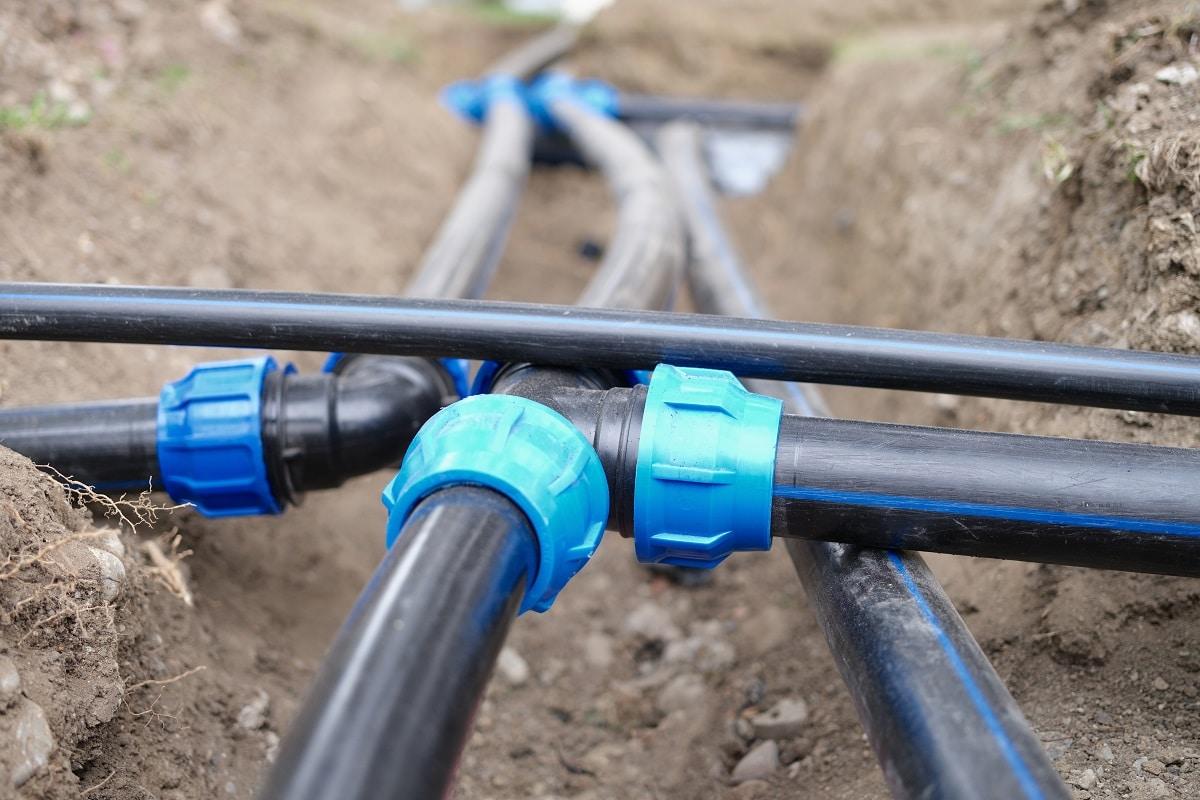
Once you have accurately measured the pipe sizes and available area, lay the vents and drains per the local codes. This is the most crucial step before setting up the supply lines, so don’t rush, or you will have to remodel the plumbing system again.
Patiently slope the drains every foot between ¼ and 3 inches. Most importantly, learn to adapt to the situation because the pipes might not set as you had imagined, or you may need to assemble the pieces to run a test.
Also, ask the inspector whether it’s essential to slope the vent pipes for home construction purposes and proceed accordingly.
4. Copper Tubing
After the drains and vents are in place, it’s easier to mark the place for other fixtures. Although a bit costly, copper pipes last longer and prove reliable, so go with them for your plumbing project.
You will have to practice cutting the copper pipes beforehand and sweating the joints for smooth installation. For horizontal pipes, you can work upwards from the crawl space or the basement but remember not to crisscross the drain pipes or vents.
The only problem with copper is that it can puncture under pressure, and you will need to place nailing plates along the sides. This will reduce the chances of damage when the need arises to replace the drywall.
5. Connect The Shower, Sink, And Tub
Use ¾-inch supply lines for installing sinks, showers, and tubs as they deliver a stable water pressure. And place the hot/cold water lines close to the water heater while installing shut-off valves wherever necessary.
Also, measure the tub and shower by placing the faucet 10 inches above the lip of the tub, while a shower needs to be 30 inches above it. We would even recommend installing a bathroom vanity rather than a sink to increase the space.
6. Wet Wall
With the piping ready and the shower in place, install wet walls or tiles over the shower wall. Clean the surface and seal the plaster while leaving a small gap between the tub and panel at the bottom. You can fill this gap with a sealant, but we suggest tiling the walls for a more long-lasting solution to avoid leaks.
Additional Tips For New Plumbing Installation
The above points should cover everything for setting up a plumbing system in your new home, but here are some additional tips for further assistance.
1. Installation Timetable
For home constructions, like plumbing installations, it’s crucial to have a timetable to complete the project on time and ensure you don’t miss anything. This is a more professional approach as you can divide the entire process into several phases to install the fixtures easily.
Tick the items on the to-do list as you go along, with a clear idea of what problems to tackle first. You can even discuss with professional plumbers to create a suitable timetable.
2. Where Does The Plumbing System Begin?
How will you draw the plan for an efficient plumbing system if you don’t know where it begins? Most people are only concerned about the pipes running to and from their homes but don’t know that the main plumbing line connects to the municipal sewer system.
This is why you need sewer accommodation stubs to form secure connections with the municipal line. You have to lay the stubs first before working on the rest of the foundation, as it provides a better idea of how to proceed with the installation.
3. Rough-In Plumbing Phase
You already know about installing the primary plumbing lines, and this part of the process is also called rough-in plumbing. Lay the lines before setting up the drywall and securing the final connections while aligning the main drains with the stack.
While you are at it, assemble the rough-in drains for the bathtubs and sinks to install the toilet flanges and water supply pipes without any difficulty.
4. Why Should You Install Fixtures Before Attaching The Doors?
We have spoken several times about installing the fixtures before setting up the doors and walls, mainly to guarantee easy movement. But there’s another reason – when you install large fixtures in a ready bathroom, there might be issues with size, and you will have to resize them again.
This holds true for all fixtures that are larger than the sink; that’s why it would be best to consult experts for accurate measurements.
Plumbing Tools And Their Uses
In this section, we have highlighted some of the common plumbing tools you will need before beginning with installations.
-
- Plumbing tape for creating tight connections
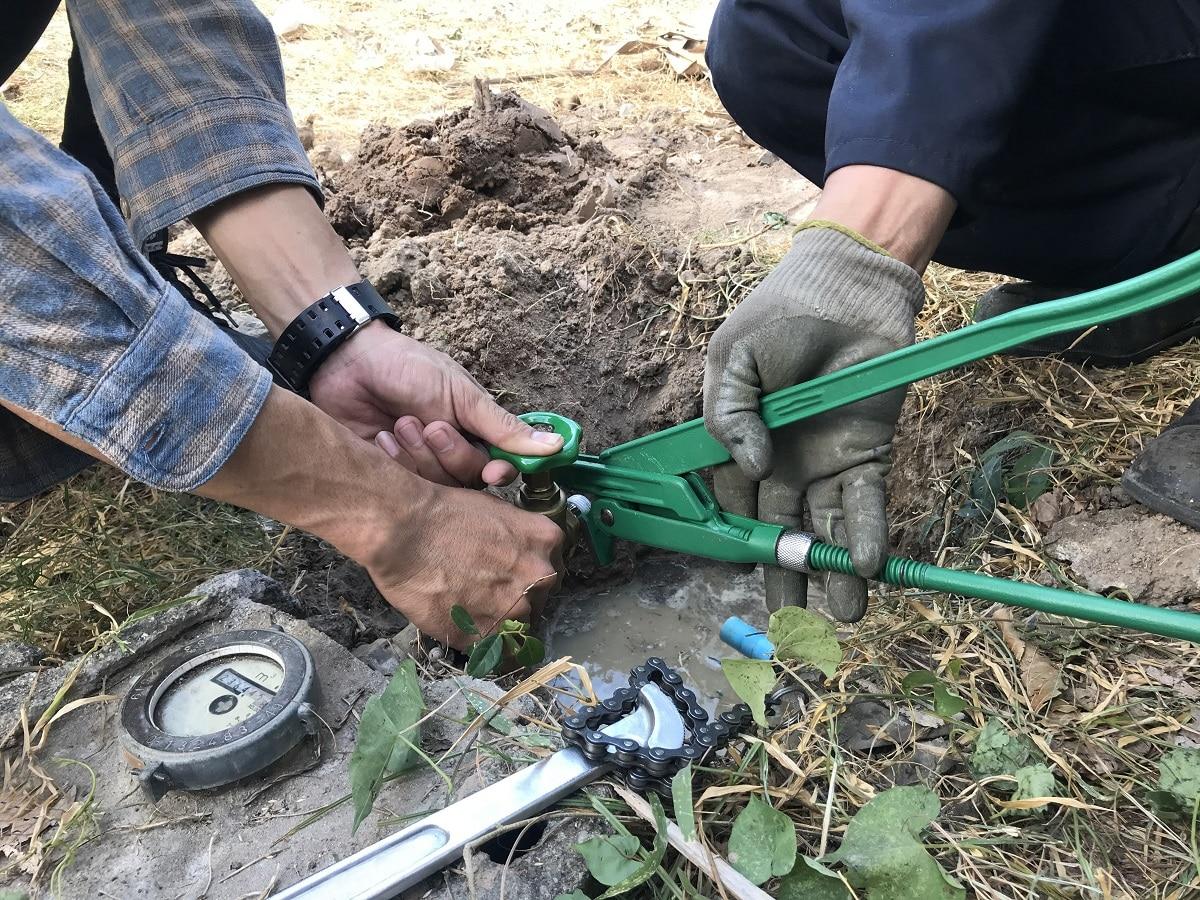
- Wrenches for removing, twisting, turning, and fitting fixtures
- Tubing cutters for clean cuts on copper pipes
- Washers to control water flow and prevent leaks
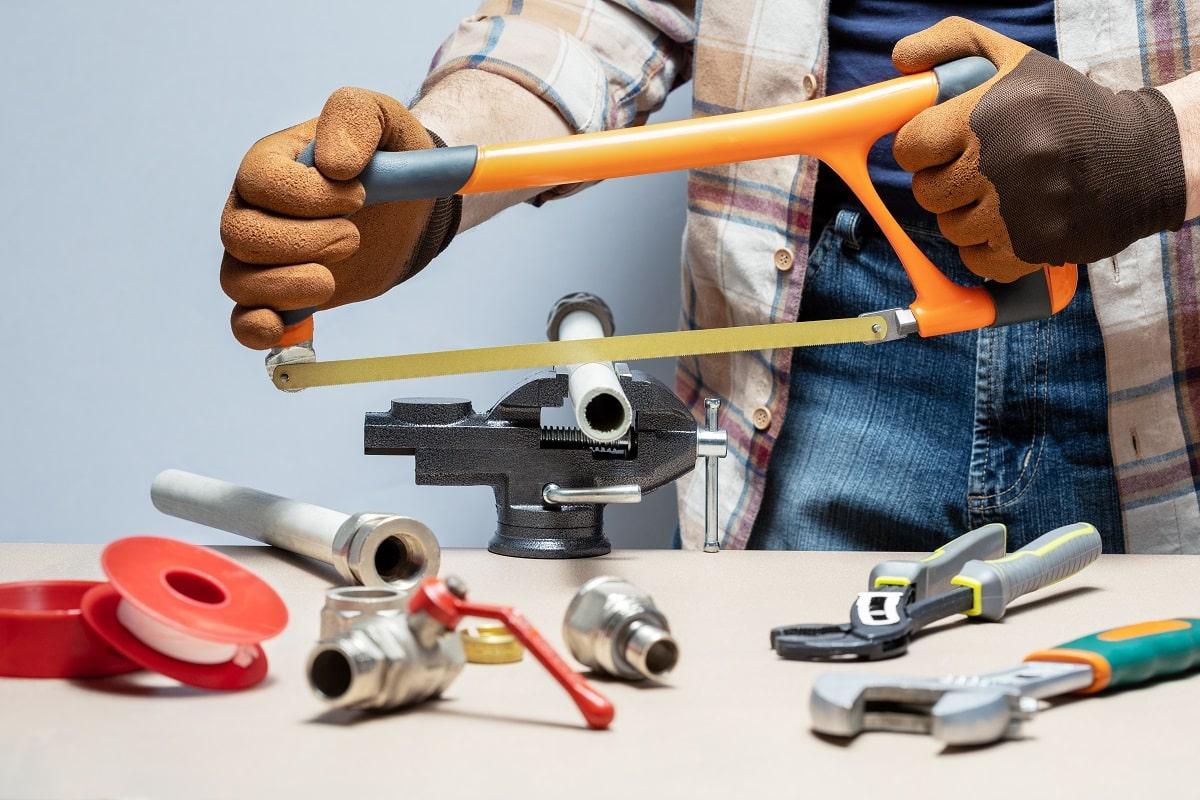
- Hacksaw for cutting metal and PVC pipes
- Drills for forming holes of various sizes on pipes
- Measuring tape for accurate installations
Plumbing From Scratch Conclusion
It’s not that difficult to install quality plumbing fixtures and design your new home when you know what to do.
Before starting, take accurate measurements and gather as much information about the best plumbing materials and installation techniques. This is also a great way to bond with new neighbors since you can ask them for help if you get stuck.
Or do the most reliable thing and contact a good plumber for help.
Related Articles
17 Most Common Plumbing Problems & How to Fix Them
Learn How to Turn Off the Water for Plumbing Repairs
Plumbing Company Scams You Should Know & How to Avoid Them
10 Home Plumbing Myths That Cost You Money


